How to Prime Vape Coils Without Burnt Hits
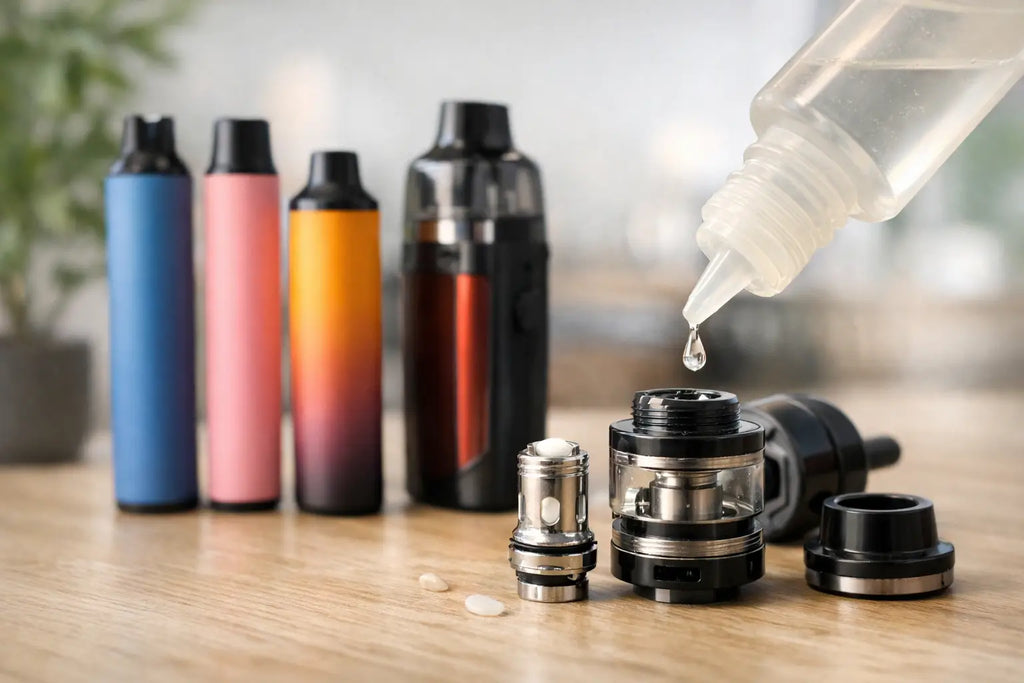
A fresh coil should taste clean, not burnt after its first few puffs. Knowing how to prime vape coils prevents the most common cause of an early dry hit: firing cotton that has not had time to absorb e-liquid. It takes only a few minutes, costs nothing and can make a noticeable difference to flavour and coil life.
Whether you use a compact pod kit, a mouth-to-lung tank or a high-wattage sub-ohm device, the aim is the same. Saturate the cotton fully before applying heat, then ease the coil into regular use.
Why priming a vape coil matters
Every replacement coil contains a wick, usually cotton, wrapped around or sitting beside a heating element. When you press the fire button, that element heats rapidly. The cotton needs to be wet enough to feed e-liquid to it throughout the puff.
A dry or partly dry wick can scorch almost immediately. Once cotton has burnt, adding more e-liquid will not restore the flavour. You may notice a harsh taste, a peppery throat hit or a lingering burnt smell. In most cases, the coil will need replacing.
Priming gives e-liquid time to move through the cotton before the first fire. It is particularly useful with thicker high-VG shortfills, larger mesh coils and coils with visible cotton ports. It also helps when fitting a coil after a device has been left unused for a while.
How to prime vape coils step by step
Start with the right coil for your tank or pod and check its recommended wattage range. A coil that does not match the device, pod or tank can cause leaking, weak performance or an unpleasant vape regardless of how carefully it is primed.
1. Add e-liquid to the exposed cotton
Take the new coil from its packaging and look for the white cotton through the liquid inlet ports on the side. Place a small drop of compatible e-liquid onto each exposed section of cotton. If the centre chimney has clearly visible cotton, one or two small drops there can help too.
Do not flood the coil. The purpose is to start saturation, not fill the central airway with liquid. Overdoing it can lead to gurgling, spitback and liquid escaping through the airflow when you first use the tank.
Pre-wetting is helpful, but it is not a substitute for filling the pod or tank and waiting. The cotton deep inside the coil still needs time to absorb e-liquid evenly.
2. Fit the coil securely
Install the coil following the fitting style used by your hardware. Push-fit coils should sit level and fully home. Threaded coils should be screwed in snugly but not overtightened. Check that any seals are seated properly before reassembling the tank or pod.
A coil fitted at an angle, or one with a damaged O-ring, can cause leaks and poor contact. If your device shows a coil resistance that looks very different from normal, remove the tank or pod and check the coil is fitted correctly before vaping.
3. Fill the tank or pod
Fill through the correct fill port and avoid pouring e-liquid down the centre airflow tube. Leave a small air gap rather than filling right to the brim, especially on a top-fill tank. Close the cap firmly, wipe away excess liquid and stand the device upright.
Choose an e-liquid suited to the coil. Most low-power pod coils and MTL coils perform best with 50/50 e-liquid or nic salts. Sub-ohm coils with larger wicking ports generally need thicker, high-VG liquids. A liquid that is too thick for a small pod coil may struggle to reach the cotton quickly enough, while a very thin liquid in a high-airflow sub-ohm tank can increase leaking.
4. Wait before the first puff
Leave a newly filled coil for around five to ten minutes. Thick liquids, large coils and cold rooms may require a little longer. This waiting time is the part most often skipped, particularly when a new coil is fitted on the go.
If you are priming a pod with a built-in coil, fill the pod first, then let it rest before inserting it into the battery device. This reduces the chance of liquid reaching the contacts and keeps the process simple.
5. Take a few gentle primer puffs
Before pressing the fire button, take two or three slow draws through the mouthpiece without firing if your device allows it. This creates a small amount of negative pressure that helps pull e-liquid into the wick. Do not draw too sharply, as this can flood the coil.
Some auto-draw pod kits will activate when you inhale, so skip this step if you cannot take an unpowered puff. The waiting period and a careful low-power start are more important than primer puffs.
6. Start below the recommended wattage
For adjustable devices, begin at the bottom of the coil's stated wattage range. Take a short, gentle puff, pause for several seconds, then repeat. After a few puffs, increase wattage gradually until you reach the warmth, vapour output and flavour level you prefer.
For example, a coil rated from 40W to 60W should not be fired at 60W straight after fitting. Start near 40W, let the coil settle, then move upwards in small increments. This is especially worthwhile with mesh coils, which heat a larger area of cotton quickly.
Fixed-wattage pod systems handle this automatically. Your job is simply to give the pod enough standing time after filling and avoid chain vaping during its first few draws.
Priming pods, MTL coils and sub-ohm coils
The basic method does not change, but the e-liquid and power level do.
Pod coils are usually compact, with narrow wicking channels. They are designed for 50/50 e-liquid and nicotine salts, often at lower power. Give them the full ten minutes where possible, then use measured puffs. Repeated long draws can outpace the wick, particularly with high-strength nic salts where short puffs are normally enough.
MTL tank coils work in a similar way. Their tighter airflow and lower wattage make them efficient, but they can be less forgiving of thick liquids. Use the VG/PG ratio suggested for the coil or tank, rather than assuming every e-liquid will perform the same.
Sub-ohm coils have wider cotton ports and consume more e-liquid. A few drops directly on the side cotton, followed by a filled tank and a proper wait, is usually ideal. Because they run at higher wattage, starting at the low end of the range matters more. Keep the tank topped up too: when the liquid level falls below the coil's inlet ports, the wick can dry out even if the tank is not completely empty.
Common priming mistakes to avoid
The biggest mistake is firing immediately after filling. A coil can appear wet at the outside while the centre of the wick remains dry. Waiting a few extra minutes is cheaper than replacing a coil after one burnt puff.
Another common issue is using the wrong power setting. Too much wattage can burn a properly primed coil, while too little may cause flooding and gurgling. Stay within the printed wattage range and make adjustments gradually.
Chain vaping can also create dry hits. The wick needs a moment to replenish between puffs, especially with sweet liquids, thick high-VG blends or small pod coils. If flavour starts to fade, slow down rather than taking harder or longer draws.
Finally, do not mistake a worn coil for one that needs more priming. Priming is for a new coil. If a coil has been used for days or weeks and now tastes burnt, muted or unusually harsh, replace it. Dark, heavily sweetened e-liquid can shorten coil life because residue builds on the heating surface.
If a new coil still tastes burnt
Stop vaping as soon as you taste burning. First, check the tank or pod has enough e-liquid and that the coil is compatible with the liquid's thickness. Check the wattage is not set above the coil's range and make sure the airflow is not excessively restricted for the way you vape.
If the coil was fired dry, the cotton may already be damaged. Letting it sit in e-liquid can sometimes improve a slightly dry taste, but it will not reliably fix scorched cotton. Replacing the coil is usually the sensible option.
For regular coil changes, keep compatible replacement coils and the right e-liquid ratio to hand. Vape Smoke stocks options for popular pod kits, tanks and sub-ohm devices, making it easier to match your hardware rather than forcing an unsuitable coil or liquid to work.
A new coil is a small reset for your device. Give it time to wick, begin gently and keep an eye on your liquid level. Those habits protect flavour far better than trying to rescue a coil after the first burnt hit.